 Save
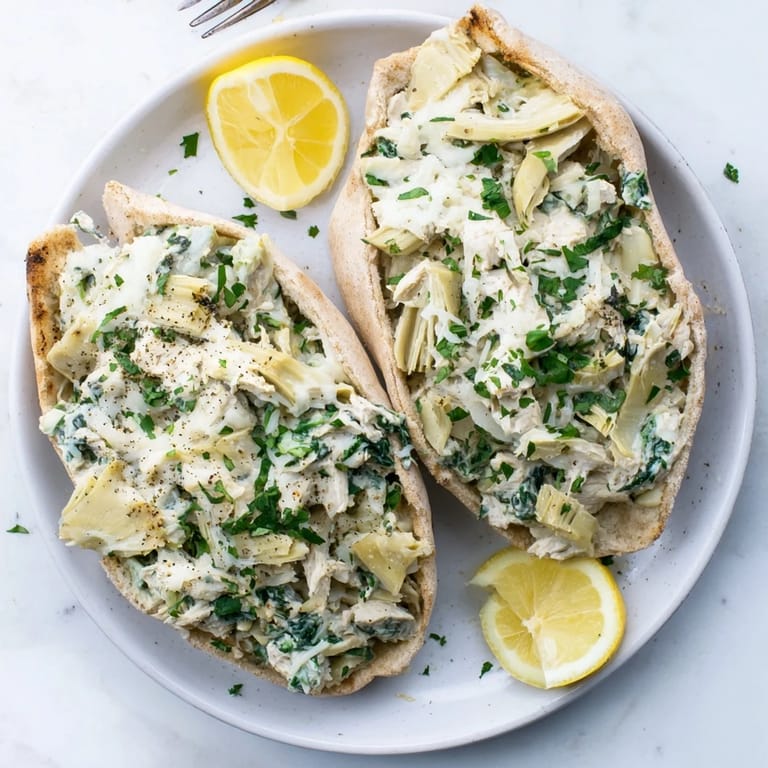
Save The smell of warm pita bread always pulls me back to a tiny Mediterranean takeout spot I used to visit between shifts. They'd stuff these pillowy pockets with whatever was fresh that day, and one spin on spinach artichoke dip with chicken changed my whole lunch rotation. I've been recreating that magic at home ever since, tweaking the ratios until the filling stays creamy without overwhelming the bread.
Last winter, I made a double batch for friends who were skeptical about spinach in their pita. Halfway through eating, someone asked what restaurant I'd ordered from, and that quiet moment of kitchen victory still makes me smile every time I pull these from the oven.
Ingredients
- Cooked chicken breast: Rotisserie chicken works perfectly here, saving you time while adding depth
- Artichoke hearts: Canned version is absolutely fine, just drain them well so your filling stays thick
- Fresh spinach: Chop it finely so it distributes evenly throughout every bite
- Greek yogurt: Creates tanginess and creaminess without the heaviness of traditional dip recipes
- Mozzarella and Parmesan: This cheese combo melts beautifully while adding that salty savory punch
- Pita breads: Whole wheat adds nuttiness but regular works, just warm them slightly before stuffing
Tired of Takeout? 🥡
Get 10 meals you can make faster than delivery arrives. Seriously.
One email. No spam. Unsubscribe anytime.
Instructions
- Mix the filling:
- Combine everything except the pitas in a large bowl, folding until the chicken is evenly coated in that creamy, herby mixture. Taste and adjust the seasonings, remembering the cheese will add salt as it melts.
- Prepare the pitas:
- Carefully slice each pita in half to create pockets, then warm them for 30 seconds in the microwave so they're pliable and less likely to tear when stuffed.
- Stuff and bake:
- Fill each pocket generously, pressing the filling gently into the corners, then arrange on a parchmentlined sheet. Bake until the cheese bubbles and the pitas turn golden at the edges.
 Save
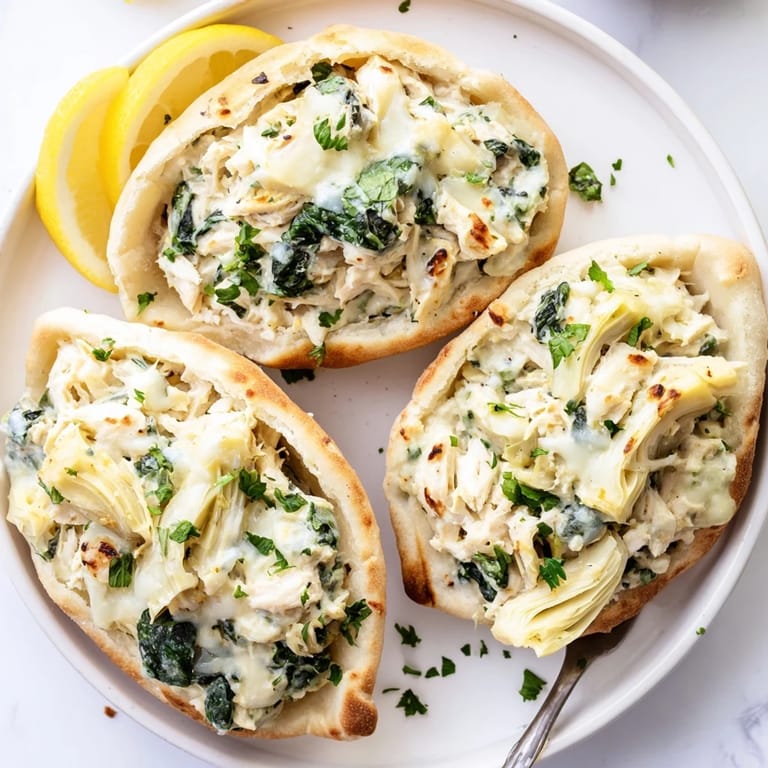
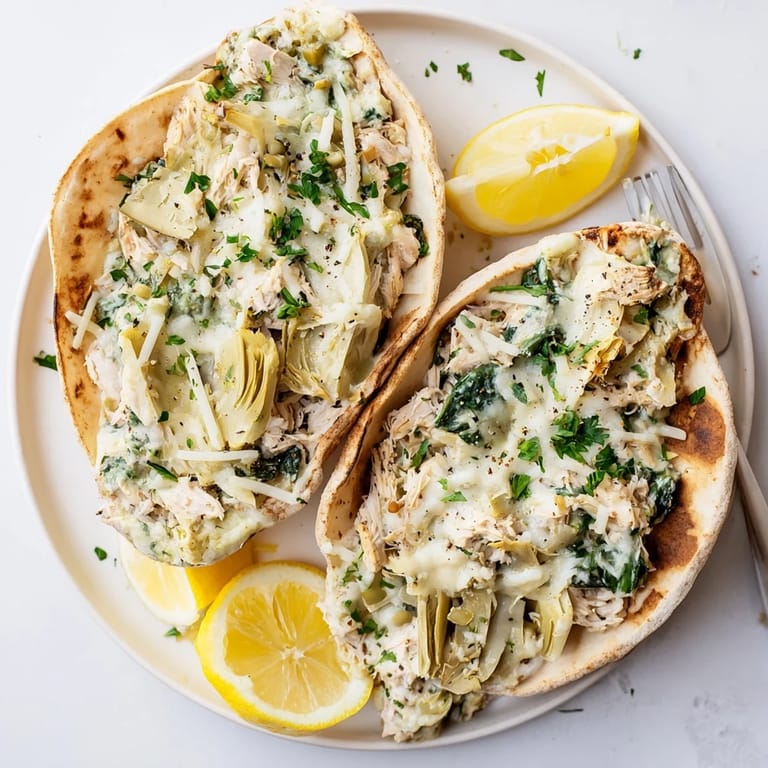
Save These have become my goto for feeding a crowd because everyone gets their own handheld portion, and there's something satisfying about tearing into that warm, cheesefilled bread together.
Make Ahead Magic
I've learned that mixing the filling the night before actually improves the flavors, giving the garlic and spices time to mingle properly with the chicken. Just keep it covered in the refrigerator and stuff the pitas right before baking for the freshest texture.
Customization Ideas
Sometimes I swap in cream cheese for half the Greek yogurt when I want something richer, or add roasted red peppers for extra sweetness and color. The base is forgiving enough to handle whatever tweaks match your mood.
Serving Suggestions
A crisp green salad with a bright vinaigrette cuts through the richness perfectly, and I love setting out extra lemon wedges for squeezing right before eating. The acidity wakes everything up.
- Try these with a simple cucumber and tomato salad on the side
- Leftovers can be wrapped in foil and reheated at 350°F for 10 minutes
- Extra fresh herbs on top make them feel like something special
 Save
Save These stuffed pitas have saved countless busy weeknights, and I love how something so simple can feel like such a treat.
Recipe FAQs
- → Can I make these ahead of time?
Yes, prepare the filling up to 24 hours in advance and store it in the refrigerator. Stuff and bake the pitas just before serving for the best texture and warmth.
- → What's the best way to reheat leftovers?
Reheat stuffed pitas in a 350°F oven for 10-12 minutes until heated through. This helps maintain the crispy exterior while warming the creamy filling throughout.
- → Can I use fresh chicken instead of cooked?
Yes, cook about 1 pound of boneless chicken breast first—either poach, grill, or pan-sear—then dice or shred it before combining with the other ingredients.
- → Are these pitas freezer-friendly?
You can freeze assembled, unbaked pitas for up to 3 months. Wrap individually and bake from frozen, adding about 10 extra minutes to the baking time.
- → What can I serve alongside these stuffed pitas?
A crisp green salad with vinaigrette complements the rich filling perfectly. Roasted vegetables, cucumber salad, or a light soup also make excellent accompaniments.
- → How do I prevent the pitas from getting soggy?
Drain artichoke hearts thoroughly and squeeze excess moisture from chopped spinach before mixing. Also, avoid overstuffing the pitas to ensure even heating without sogginess.