 Save
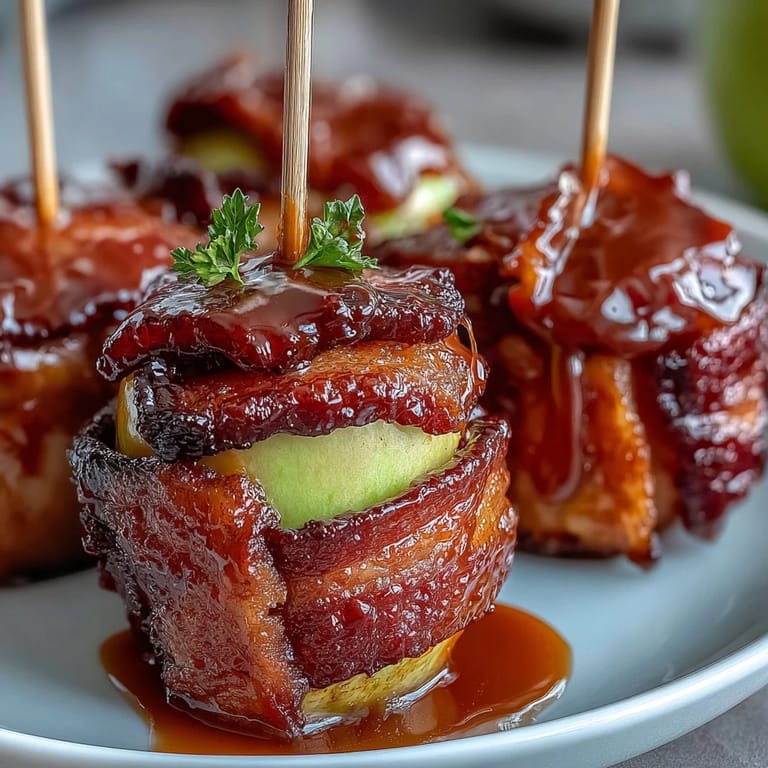
Save My neighbor brought a plate of these to a block party last summer, and I watched them disappear faster than the ice cream. She caught me eyeing the last one and laughed, handing it over while admitting she'd made three batches because the first two never made it past her kids. That's when I realized these weren't just candy apples shrunk down—they were tiny moments of pure joy on a stick, the kind of thing that makes people feel like you've done something magical in your kitchen.
I made my first batch on a rainy Tuesday evening, testing the candy thermometer like it was a lie detector. My husband wandered into the kitchen drawn by the sweet smell, and before the coating had even set, he'd sneaked one still warm from the pot and burned his tongue. He didn't even complain—just grinned with red food coloring on his lip and asked when I was making more.
Ingredients
- 2 large crisp apples (Granny Smith or Fuji): Choose apples that are firm and tart-sweet; Granny Smith gives you that sharp contrast with the candy, while Fuji feels almost buttery inside, and honestly both are perfect depending on your mood.
- 1 cup granulated sugar: This is the backbone of your candy shell, and measuring it precisely matters more than you'd think because even slightly off proportions change when the candy reaches that crucial hard-crack stage.
- 1/3 cup light corn syrup: This ingredient prevents crystallization and keeps your coating glossy and smooth instead of grainy, which I learned only after my first attempt turned out cloudy.
- 1/4 cup water: Just enough liquid to dissolve the sugar and get everything moving toward that amber clarity that signals you're close to perfection.
- 1/4 teaspoon red food coloring: A tiny amount goes a long way, and the color deepens as the mixture cooks, so resist the urge to dump the whole bottle in at once.
- Nonstick cooking spray: For your parchment paper, because nothing's worse than candy hardening permanently onto your workspace.
- Optional toppings (chopped nuts, mini chocolate chips, or sprinkles): These add personality and a second layer of texture, applied while the coating is still soft enough to stick.
Tired of Takeout? 🥡
Get 10 meals you can make faster than delivery arrives. Seriously.
One email. No spam. Unsubscribe anytime.
Instructions
- Prep your workspace like you mean it:
- Spray a sheet of parchment paper with nonstick spray and set it on a stable surface within arm's reach of where you'll be dipping. You'll be moving fast once that candy hits the right temperature, and fumbling for supplies in the moment is how accidents happen.
- Cut and skewer the apples:
- Core your apples, then cut them into roughly 1-inch chunks—try to keep them uniform so they cook evenly when dipped. Pat each piece completely dry with paper towels because moisture is the enemy of a good candy coating, and any dampness will cause the candy to slip right off.
- Build your candy base:
- Combine sugar, corn syrup, and water in a saucepan and stir just until the sugar looks wet and slightly clumpy. Bring everything to a boil over medium-high heat, then stop stirring; let the heat do its work while you watch the color slowly shift from clear to pale golden to amber.
- Hit that hard-crack stage:
- This is where your candy thermometer becomes your best friend—you're aiming for exactly 300°F, which takes about 7 to 8 minutes and happens faster than you expect. The moment it reaches temperature, pull the pan off heat and quickly stir in the food coloring until it's evenly distributed throughout.
- Dip with speed and purpose:
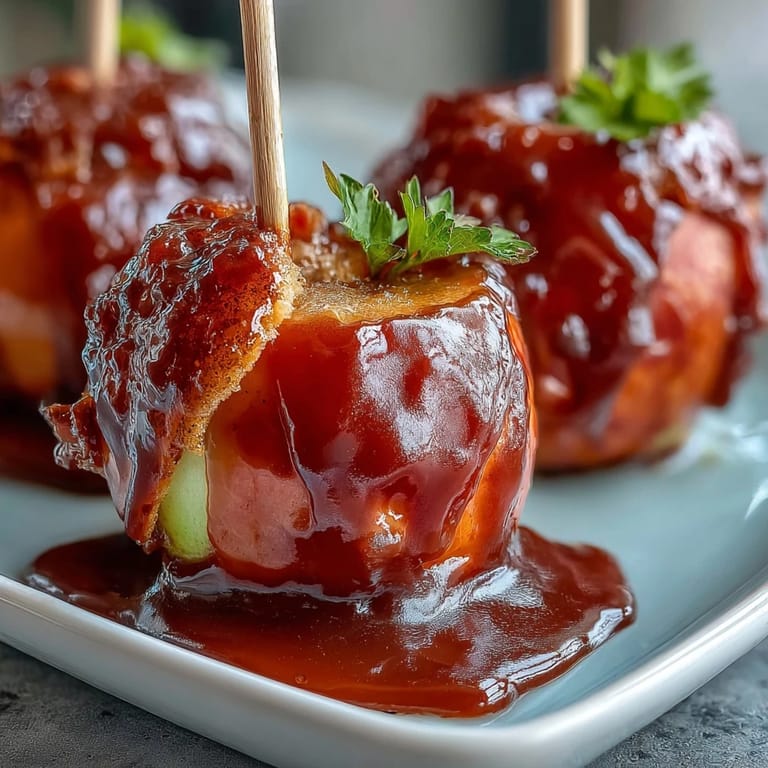
- Working as quickly as you can manage without burning yourself, grab an apple chunk by its toothpick, dip it into the hot candy, and swirl it to coat all sides. The coating should drip off slightly, leaving a thin glossy layer, then place it immediately on your prepared parchment paper.
- Finish while the coating's still warm:
- If you're using toppings, sprinkle them on right after placing each bite on the parchment while the candy is still tacky enough to grab and hold them. Once the coating hardens completely at room temperature, the toppings won't stick, so timing here is everything.
- Let patience do the final work:
- Resist the urge to touch or move the bites until they've cooled and hardened completely, which usually takes 30 minutes to an hour depending on your kitchen temperature.
 Save
Save My daughter brought these to her school bake sale, and the teacher texted me a photo of the empty plate with just a note that said 'More please?' in big letters. That's when these stopped being a recipe I made and became something that represented showing up for people in a way that felt special and thoughtful.
Why Apples Work So Well Here
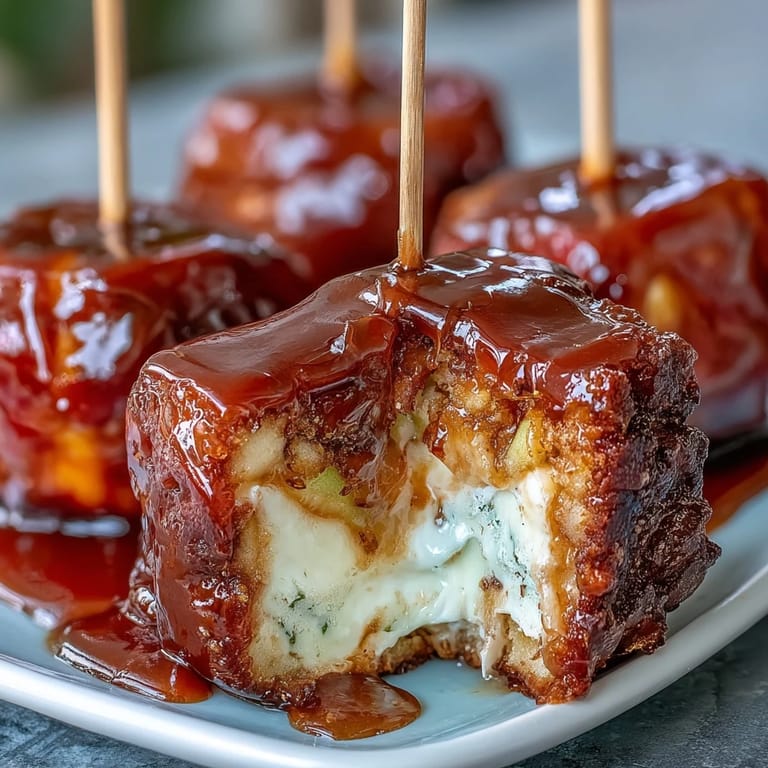
There's something about the tartness of apple against that sweet, hard candy shell that just works on a level that feels almost scientific. The apple stays crisp even after dipping because the moisture inside doesn't escape, and the texture contrast between crunch and shatter keeps you reaching for another bite even when you're full. I've tried this with pears once and it was fine, but the apple has this perfect balance of sweetness and bite that makes the candy shine instead of overwhelming it.
The Real Secret to Glossy Coating
Most people think it's all about temperature, and temperature matters, but the real magic happens when you don't stir the mixture after it boils. I learned this the hard way by anxiously stirring and watching my beautiful clear candy turn cloudy and grainy before my eyes. The undisturbed boil creates the clarity you're after, and that corn syrup prevents the sugar from crystallizing even though your brain screams that you should be stirring constantly.
Storage and Making Them Ahead
These keep beautifully in an airtight container for up to three days, which means you can actually make them the morning of your event instead of stressing about it the night before. They're sturdy enough to transport without the coating cracking off, and honestly, they taste just as good at room temperature as they do immediately after cooling. Keep them away from humidity though, because the candy shell will start to soften if the air is too damp, which I discovered one August afternoon when my kitchen felt like a sauna.
- Store in an airtight container with parchment between layers so they don't stick to each other.
- You can make the candy coating a day ahead and reheat it gently if needed, though fresh-made is always superior.
- These freeze surprisingly well for up to two weeks if you need to plan even further ahead.
 Save
Save These bites have become my go-to gift and party contribution, the kind of thing people remember and ask for by name. There's something deeply satisfying about turning two simple ingredients into something that feels fancy and celebratory.
Recipe FAQs
- → What type of apples work best?
Crisp varieties like Granny Smith or Fuji give a perfect balance of tartness and crunch, ideal for coating.
- → How do I prevent the candy coating from sticking?
Ensure apple pieces are very dry before dipping and use a nonstick surface like parchment paper to cool.
- → Can I add toppings to these bites?
Yes, sprinkle chopped nuts, mini chocolate chips, or sprinkles onto the coating before it hardens for extra flavor.
- → What is the cooking stage for the candy coating?
Bring the sugar mixture to 300°F, the hard crack stage, to ensure a crisp, glossy candy shell.
- → Are these suitable for dietary restrictions?
They are vegetarian and gluten-free, but check toppings like nuts for allergens if used.