 Save
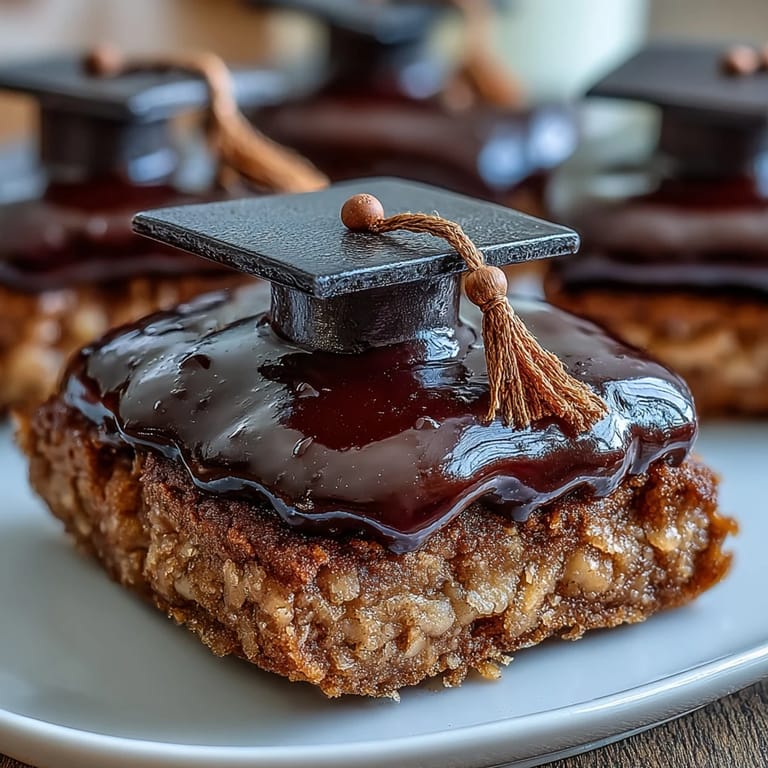
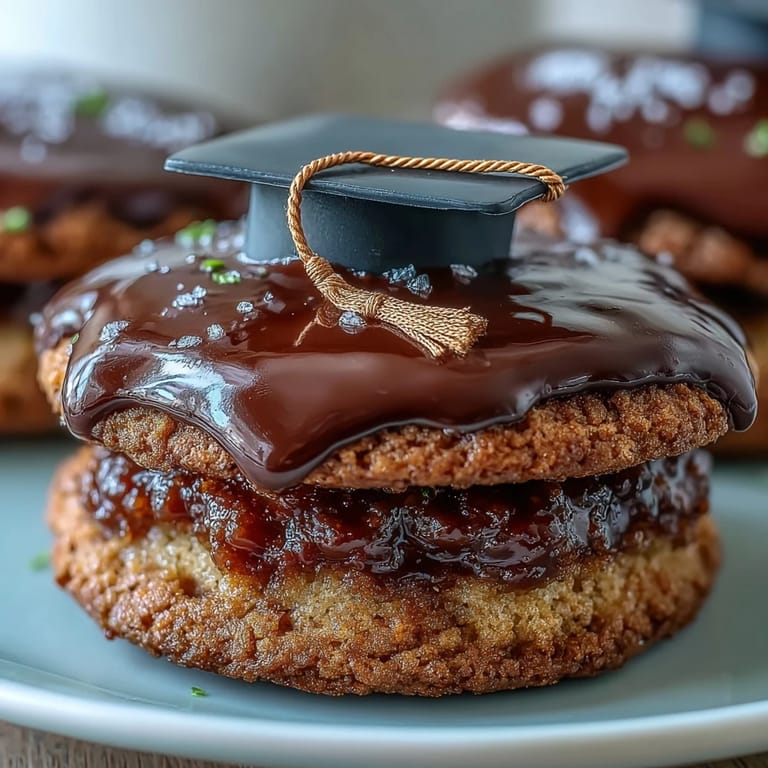
Save My cousin texted me three weeks before her graduation asking if I could bake something special for her party, and honestly, my first instinct was to panic. Then I thought about those little square cookies I'd seen decorated like graduation caps, and suddenly I was imagining a whole tower of them dusted with black icing and tiny yellow tassels. She loved the idea before I'd even made a test batch, which meant I had to actually pull it off. These cookies became my crash course in royal icing, and what started as nervous experimenting turned into the easiest, most satisfying decoration project I've tackled in years.
I'll never forget my cousin's face when she saw the cookie tower at her graduation brunch—she actually teared up, which made me realize these little cookies had become way more than dessert. Everyone at the party wanted to know where I'd bought them, and I got to say, somewhat smugly, that I'd made them from scratch. That moment sealed it for me: simple cookies, thoughtful decoration, genuine impact.
Ingredients
- All-purpose flour: You need 2 1/2 cups (315 g) and it's worth sifting if your flour has been sitting in the cupboard for a while, since packed flour can throw off your ratios.
- Baking powder: Just 1/2 teaspoon keeps these cookies crisp instead of cakey, which is crucial for clean decorating.
- Salt: 1/4 teaspoon balances the sweetness and makes the butter flavor shine through.
- Unsalted butter: 3/4 cup (170 g) softened to room temperature is non-negotiable—cold butter won't cream properly and you'll end up with dense dough.
- Granulated sugar: 1 cup (200 g) creamed with butter creates the tender crumb these cookies are known for.
- Egg and vanilla: One large egg binds everything together, and 2 teaspoons vanilla extract adds warmth without being overpowering.
- Powdered sugar: 3 cups (360 g) sifted for the royal icing—this is where lumps sneak in if you're not careful.
- Egg whites or meringue powder: Either works, but meringue powder is pasteurized and safer if you're nervous about raw eggs.
- Black and yellow gel food coloring: Gel colors won't thin out your icing like liquid colors do, which means you keep the right consistency for piping.
- Mini yellow M&Ms or candy pearls: These become the tassels and give the whole cookie that playful graduation cap vibe.
Tired of Takeout? 🥡
Get 10 meals you can make faster than delivery arrives. Seriously.
One email. No spam. Unsubscribe anytime.
Instructions
- Combine your dry ingredients:
- Whisk together the flour, baking powder, and salt in a bowl, making sure there are no hidden lumps of baking powder hiding in the corners. This step takes 30 seconds and prevents dense spots in your final cookies.
- Cream butter and sugar until fluffy:
- Beat them together for about 2 to 3 minutes until the mixture looks pale and almost cloud-like—you'll hear the mixer working harder as it incorporates air. This is what gives your cookies that tender, slightly delicate texture.
- Add the egg and vanilla:
- Mix these in until just combined, scraping down the bowl to catch any butter hiding on the sides. Don't overmix or you'll develop too much gluten and end up with tough cookies instead of tender ones.
- Bring the dough together:
- Add your flour mixture gradually, stirring on low speed until the dough just comes together and no dry streaks remain. Stop as soon as it looks unified—you're not making bread, so you want to be gentle here.
- Chill your dough:
- Divide it in half, shape each half into a disk, wrap in plastic, and refrigerate for 30 minutes—this prevents the cookies from spreading too much in the oven. If you forget and bake them cold, they'll just need an extra minute or two.
- Roll and cut with intention:
- Preheat your oven to 350°F (180°C), then roll the chilled dough to about 1/4-inch thickness on a lightly floured surface. Cut out your shapes using a graduation cap cutter or a simple square cutter, and transfer them carefully to parchment-lined baking sheets.
- Bake until edges turn golden:
- Bake for 8 to 10 minutes—you want the edges just barely golden but the centers still pale and tender. Let them cool completely on the baking sheet before you even think about touching them, or they'll crumble.
- Whip up your royal icing:
- If using egg whites, beat them until foamy first, then gradually add sifted powdered sugar until you get stiff, glossy peaks, which takes about 5 minutes of steady beating. If using meringue powder, whisk it with water first to hydrate, then proceed the same way.
- Add vanilla and divide for coloring:
- Stir in 1/2 teaspoon vanilla, then divide your icing into portions—most goes black for the cap, a small amount stays yellow for the tassel details. Use gel coloring and add it bit by bit, stirring until you reach the exact shade you want.
- Adjust consistency for your needs:
- For flooding the cookie surface, thin your black icing with water by the teaspoon until it reaches a honey-like consistency. For piping details, keep it thicker by adding a bit more powdered sugar if it gets too loose.
- Outline and flood each cookie:
- Use a small piping bag filled with black icing to outline the edge of each cookie, then use a toothpick to gently spread the icing toward the edges, filling in the middle smoothly. Let this set for 30 to 60 minutes until it's completely dry to the touch.
- Pipe on the tassel details:
- Once the black base is set, switch to your yellow icing in a small piping bag and draw a simple tassel shape on top of each cap. Add a tiny button dot right at the base of the tassel, keeping it neat and playful.
- Crown it with candy:
- Place a mini M&M or candy pearl right at the end of each yellow tassel, pressing gently so it sticks into the wet icing. Let everything dry completely, which takes several hours or overnight before you package them up.
 Save
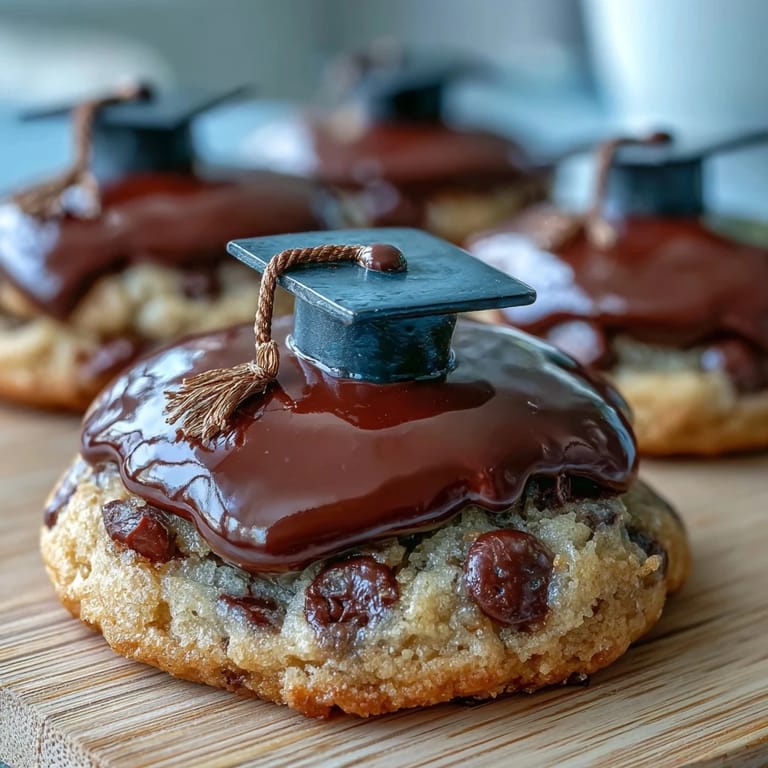
Save There's something unexpectedly meditative about piping tiny tassels onto 24 graduation caps, especially when you realize halfway through that your hand is steadier than you thought. My friend who came over to help decorated alongside me, and we ended up laughing about the wonky ones, which somehow became our favorites because they had personality. That's when it hit me—these cookies don't have to be perfect to mean everything to someone celebrating.
Why This Recipe Works Every Single Time
The secret is that this dough is extremely forgiving because there's enough butter and sugar to keep everything soft and tender, even if your mixer runs a few seconds longer than it should. The relatively low oven temperature means your cookies bake gently without browning too much, which keeps them looking elegant once they're decorated. I've made these with slightly different vanilla brands, different types of butter, even different egg sizes, and they've never disappointed me once.
Getting Your Royal Icing Exactly Right
Royal icing has a reputation for being temperamental, but I think that's because people get confused about consistency—you actually need two different thicknesses for this project, and switching between them is the whole technique. The flooding consistency should drip slowly off your spoon and spread easily with a toothpick, while the piping consistency should hold a peak when you lift the spatula. I keep a small bowl of water next to me while decorating and adjust as I go, adding a teaspoon of water if things get too thick, or a teaspoon of powdered sugar if they get too thin.
Decorating Tricks and Timing
The best thing I learned was to decorate in batches rather than trying to do all 24 cookies at once, because by the time you finish piping tassels on cookie number 24, cookie number 1 has probably set enough that you can move it without smudging. Working in groups of 8 or so also prevents your icing from drying out in the piping bags, which happens faster than you'd expect on a dry day. One last thing that changed my decorating life was using a toothpick to gently nudge the flooding icing into corners—it's so much easier than trying to be precise with the piping bag from the start.
- Decorate in batches of 8 cookies rather than all at once to prevent icing from drying in your piping bags.
- Use a toothpick to spread flooding icing into corners instead of fighting with precision piping from the beginning.
- Let the black base layer set completely before piping yellow details, or your colors will blend together and look muddy.
 Save
Save These cookies became my go-to celebration dessert because they're simple enough to make on a Wednesday night but fancy enough to make someone feel truly honored. Every time I bake them, I think about my cousin's reaction and remember that the best recipes are the ones that carry a little joy along with them.
Recipe FAQs
- → How do I achieve smooth royal icing for decoration?
Beat egg whites or meringue powder with powdered sugar until stiff peaks form. Adjust consistency by adding water teaspoon by teaspoon for flooding or more sugar for piping.
- → Can I prepare the dough in advance?
Yes, chilling the dough for 30 minutes improves handling and can also be refrigerated overnight for convenience.
- → What’s the best way to keep the cookies crisp after decorating?
Allow the icing to dry completely before storing cookies in an airtight container to maintain crispness.
- → Are there alternatives to gel food coloring for tinting icing?
Natural coloring options like beet juice or turmeric can be used, but results may vary in vibrancy.
- → How long should the cookies bake?
Bake at 350°F (180°C) for 8-10 minutes until edges turn just golden, ensuring a crisp texture.